This e-Shop is operated by Analemma Commerce
This e-Shop is operated by Analemma Commerce
Priority Customer Care – 18001022929


Seller: Analemma Commerce Pvt. Ltd.
This item is currently out of stock
Additional Information:


3 reviews
0%recommend this product
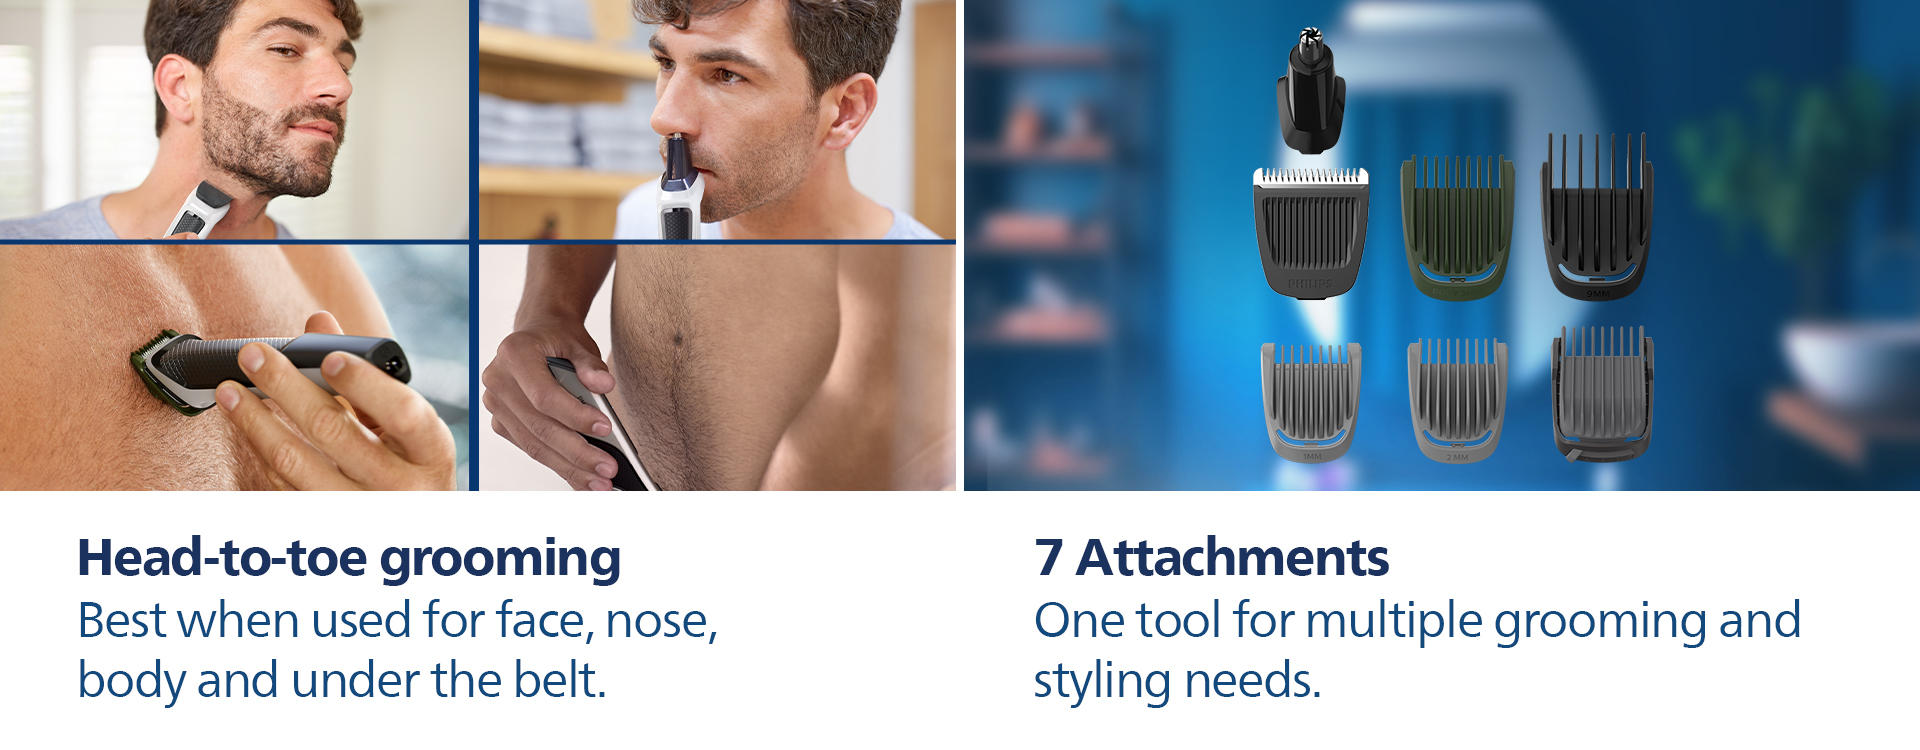
Create The Look You Want
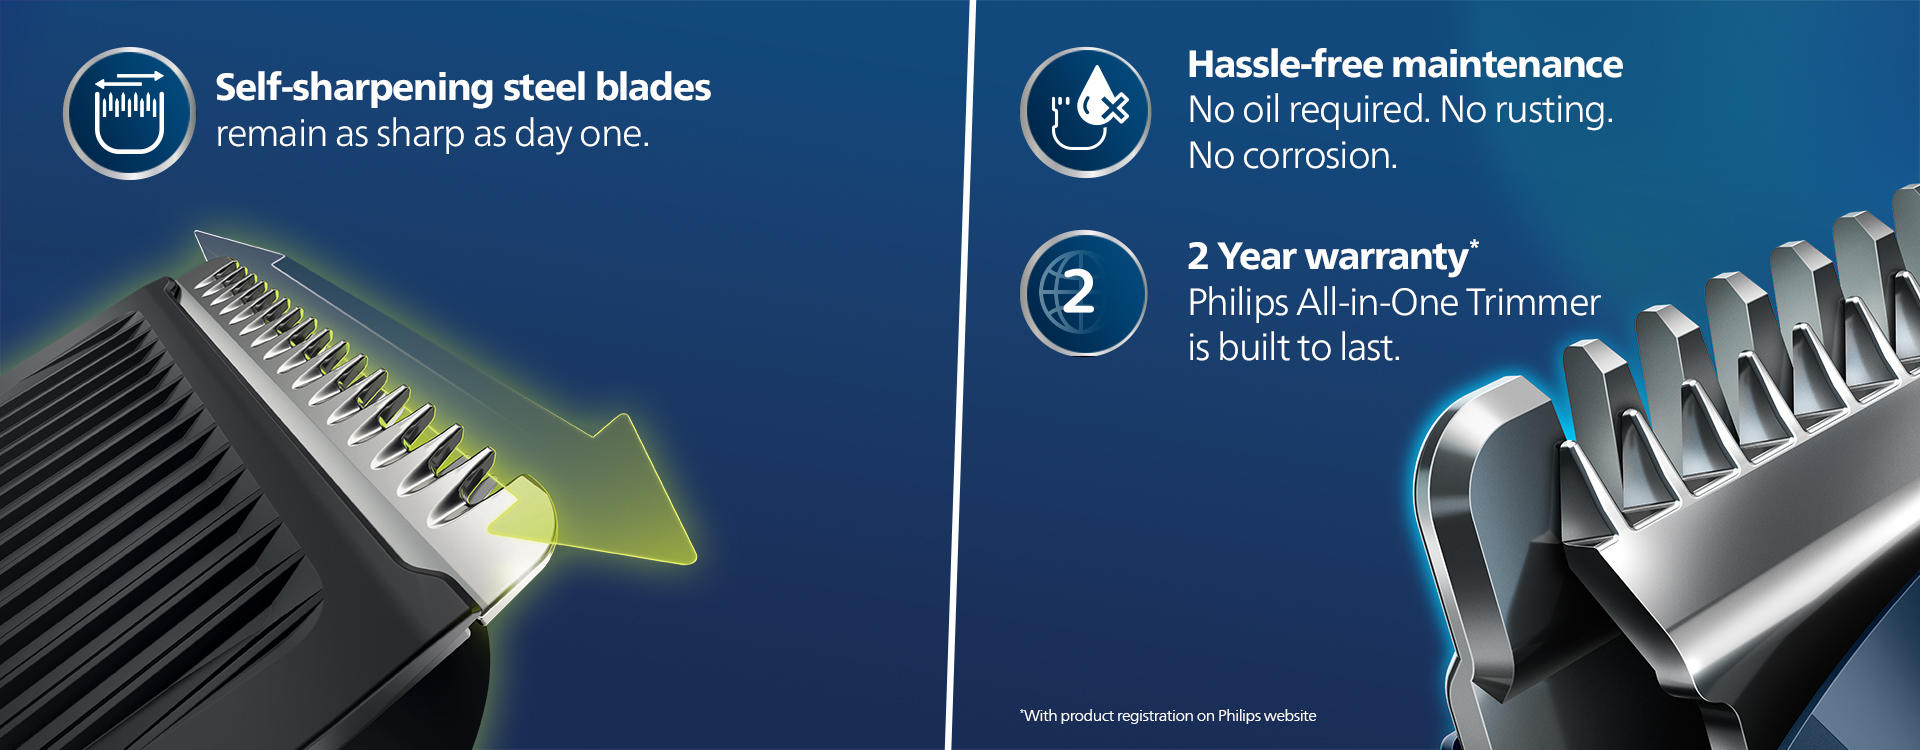
Cutting System
Accessories
Ease Of Use
Service
Power
Gentle and Smooth Manscaping

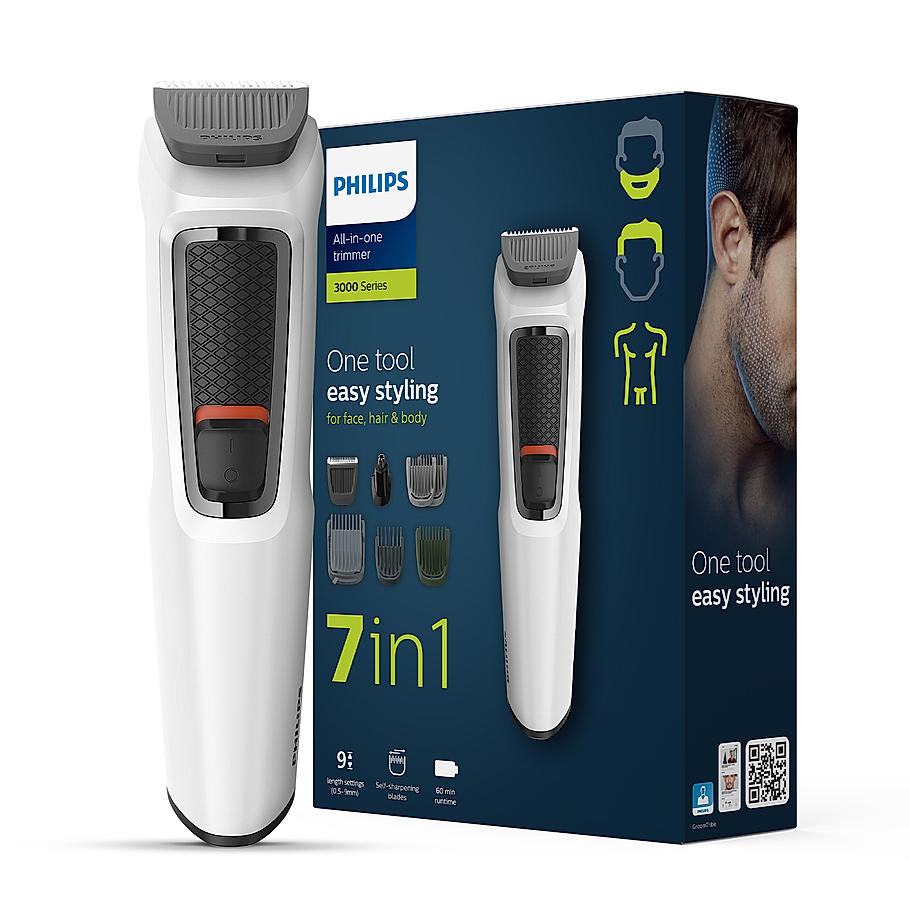
New

BT3301-30
1,399 1,599
Secure Payment By


