This e-Shop is operated by Analemma Commerce
This e-Shop is operated by Analemma Commerce
Priority Customer Care – 18001022929


Seller: Analemma Commerce Pvt. Ltd.
 All in One Trimmer - | 13 in 1 Face, Body & Private Parts I DualCut Technology I 120 min runtime I 5 min Quick Charge | 3 Year Warranty I MG7715/65
 All in One Trimmer - | 11 in 1 for Face, Head and Body | 75 Mins Run Time with Quick Charge | MG3760/33
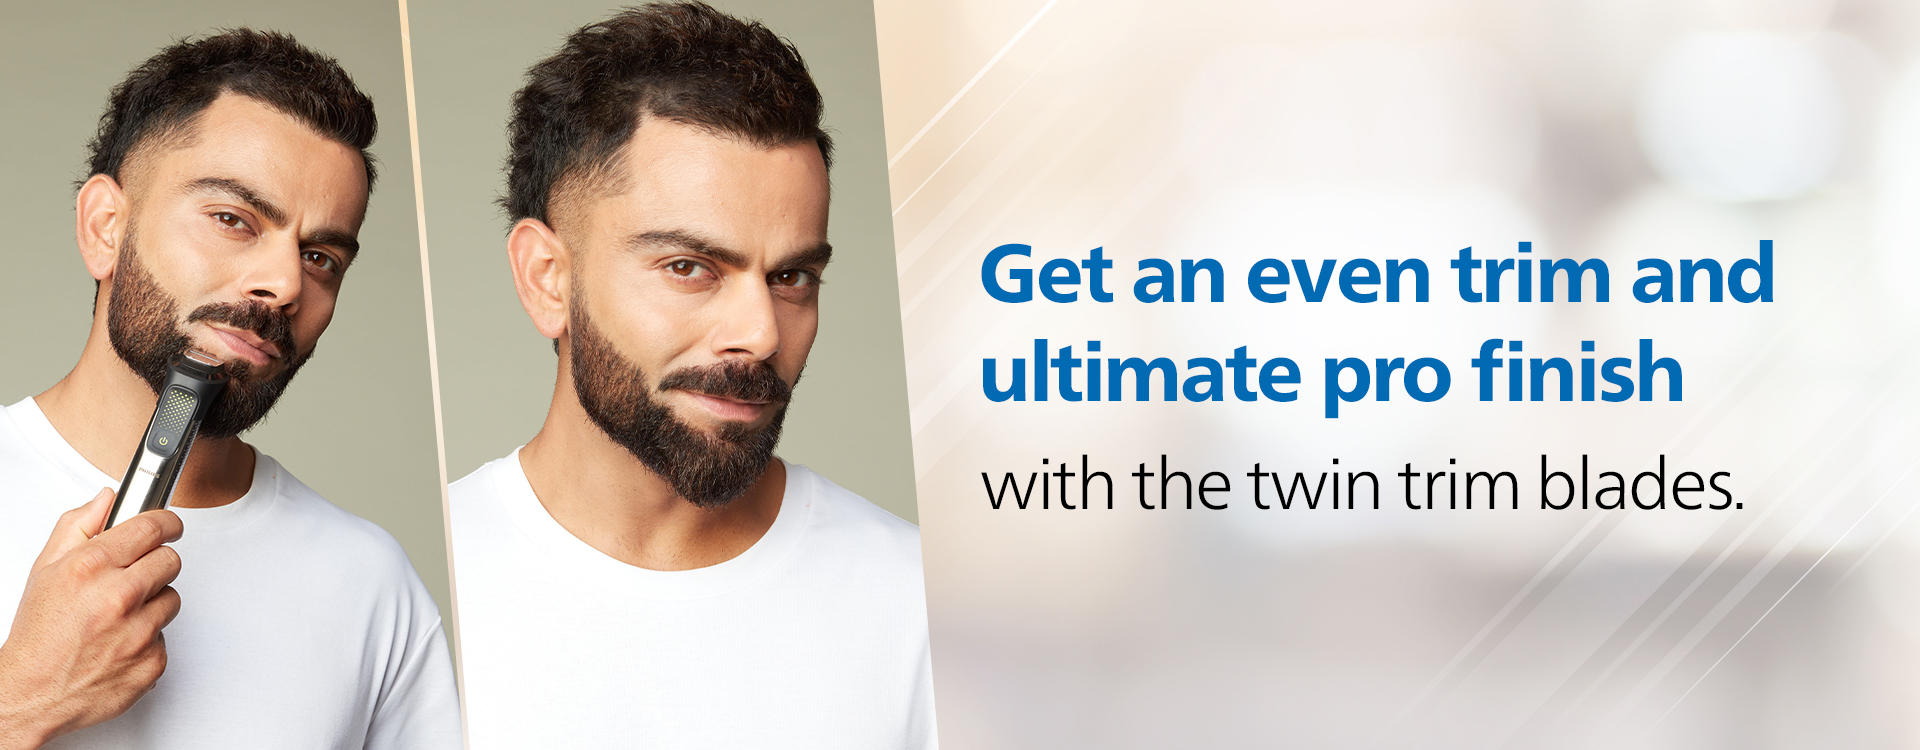
 All in One Trimmer - I 15 in 1 Face, Body & Private Parts I Professional Finish I Twin Trim blades I All Metallic Premium Body I Precision Trimming Comb | 120 min runtime I 5 min Quick Charge | MG9551/65
 All in One Trimmer- I 13 in 1 Face, Body & Private Parts I Professional Finish I Twin Trim All Metal Steel Blades I Precision Trimming Comb | 120 min Runtime I 5 min Quick Charge I MG7920/65
Additional Information:

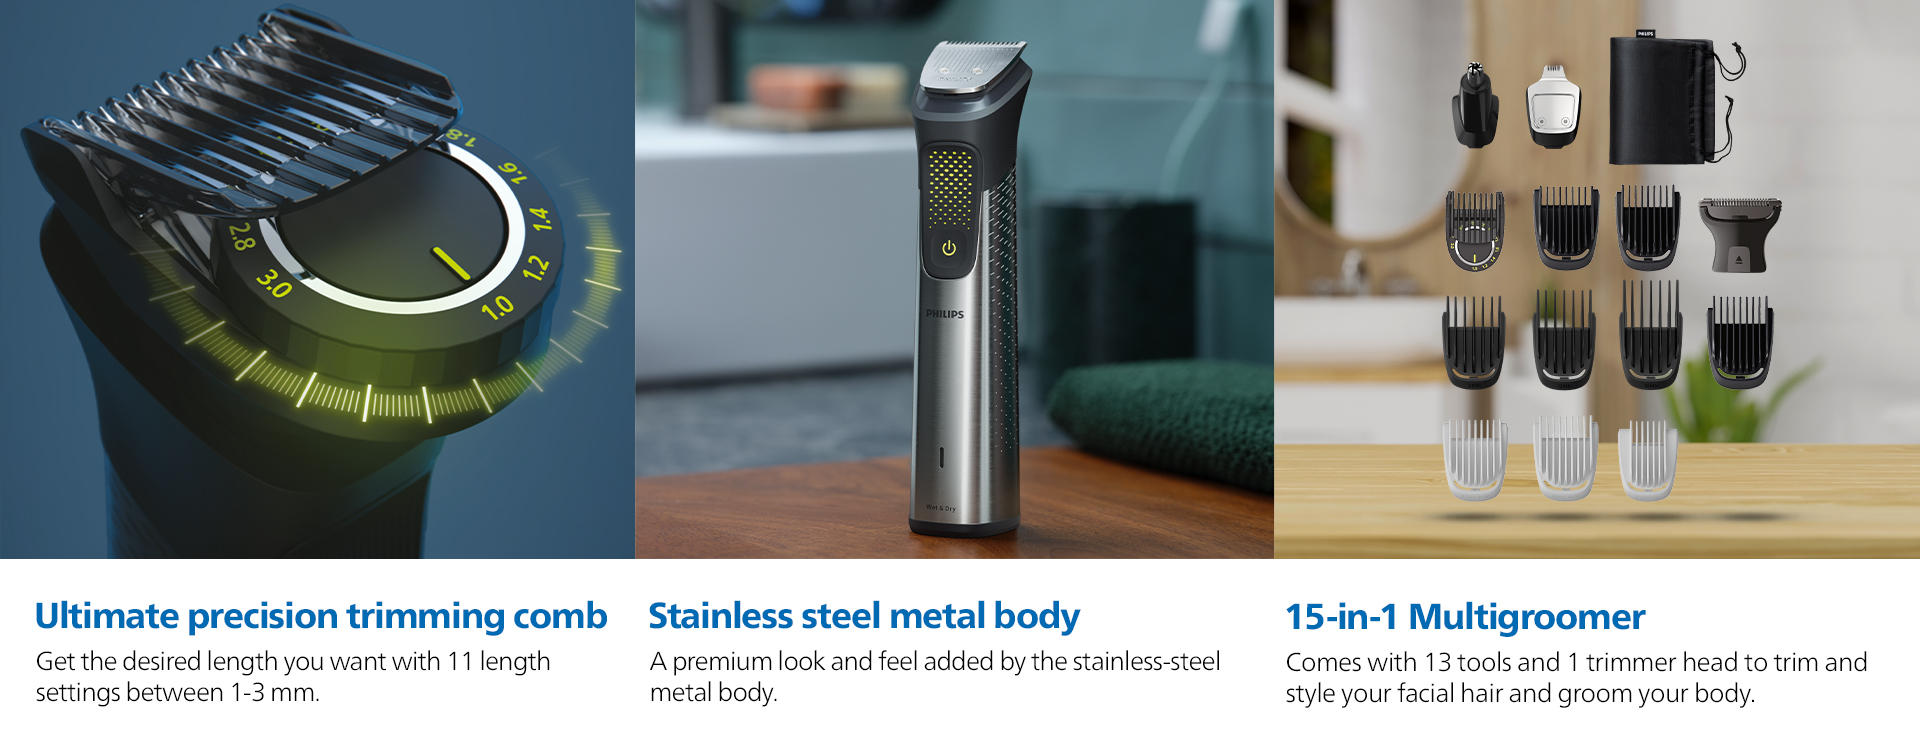

The patented trimming comb offers 11 length settings between 1-3 mm, so you can achieve an even trim at the exact length you want.
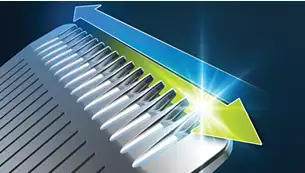
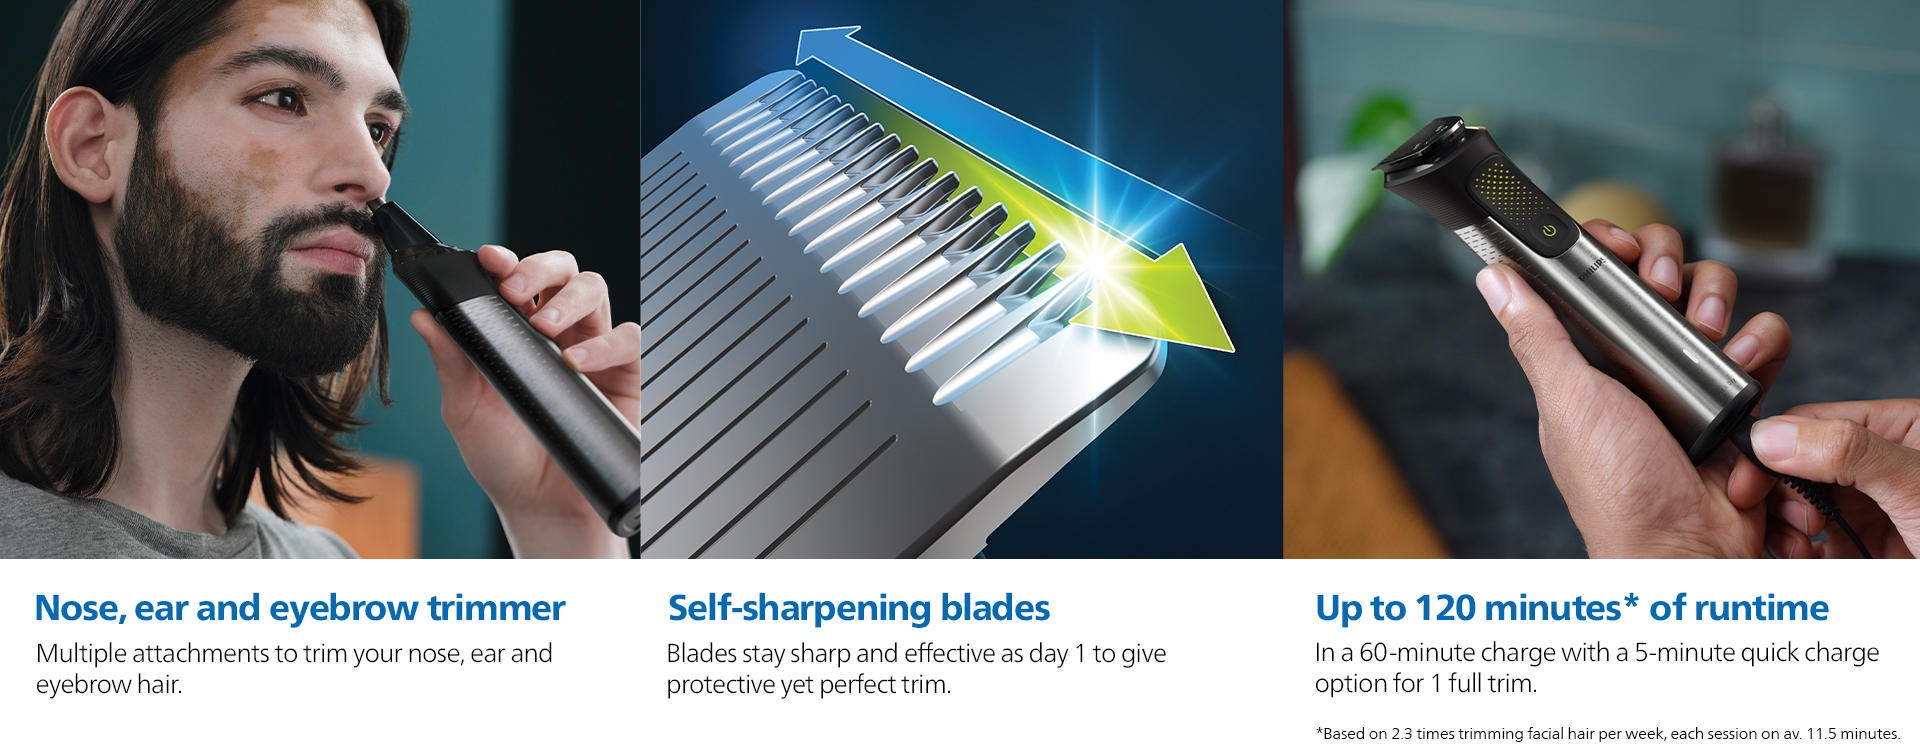
The trimmer's stainless steel blades remain sharp as day one for long lasting performance. No oil required.
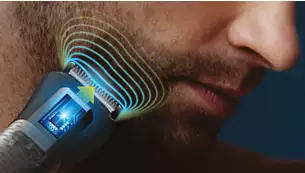
The trimmer scans the beard density 125x per second and boosts power exactly when you need it to tackle also dense, bushy or longer beards.

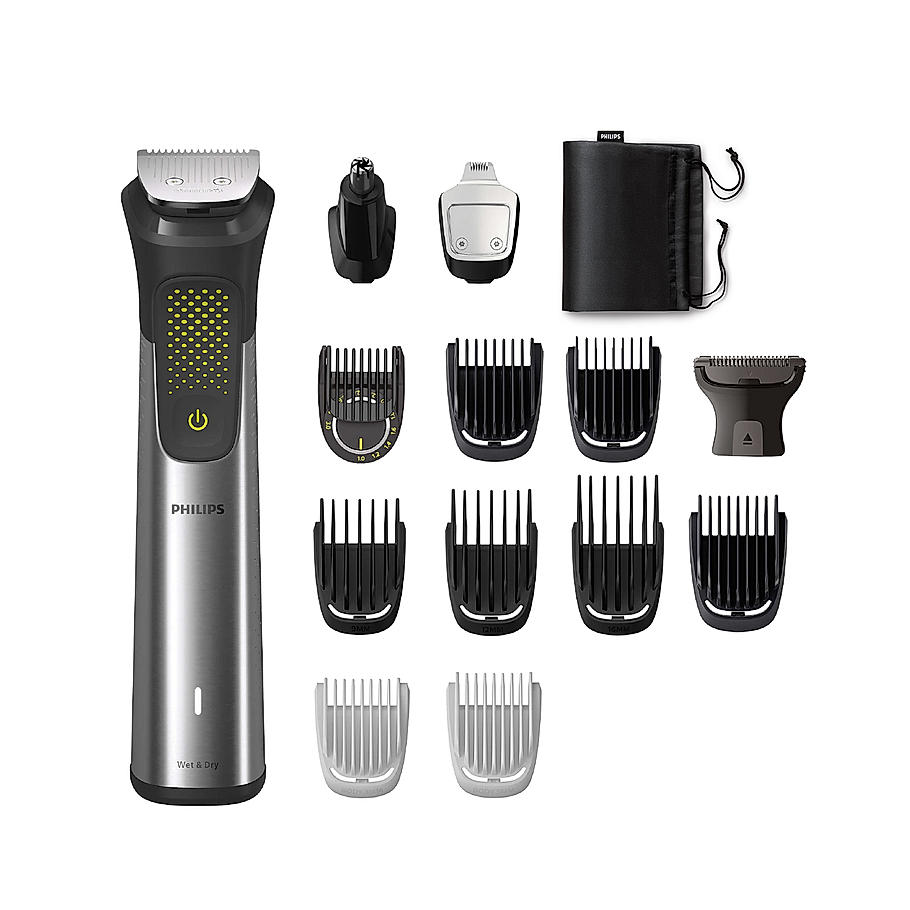
This all-in-one trimmer offers 12 tools for all your grooming needs. Conveniently trim and style your facial hair, clip your hair and groom your body.

The trimmer and its multi-comb set offer 17 length settings from 0.5 to 16 mm in up to 0.2 mm precision steps for shorter and longer beard styles. The narrow design of the precision trimmer attachment makes it easy to create sharp edges and fine details. The metal trimmer attachment cleans up cheeks, chin and neck to finish your look.

Shave comfortably below the neck with our body shaver attachment. A unique skin-protection system guards sensitive areas while you shave as close as 0.5 mm. You can also trim body hair with the two click-on combs.

With the trimmer's multi-comb system you can choose length settings between 0.5 - 16 mm to create your hairstyle at home.

The nose/ear trimmer attachment removes unwanted nose and ear hair quickly and safely. Easily keep your eyebrows neat and tidy with the dedicated eyebrow comb.
A powerful lithium-ion battery provides up to 120 minutes of runtime with 5-minute quick charge option for long life and maximum power.

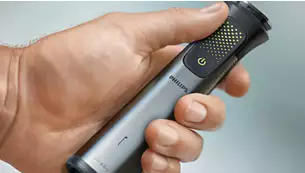
A battery indicator lets you know your battery status: low, empty, charging or full. So you never get caught with an empty battery in the middle of your trim.
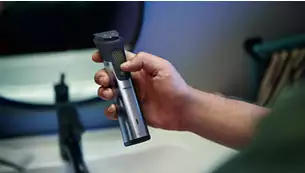
High-quality trimmer handle made of stainless steel with a rubber insert for first-class comfort and control.

The trimmer is water resistant, so you can use it comfortably in the shower and clean it easily under the tap.
36 reviews
0%recommend this product
Ease Of Use
Service
Power
Professional Finish

Limited Time Offer

Effortless Grooming

Just Launched

Secure Payment By

